Control panel wiring: the equipment list
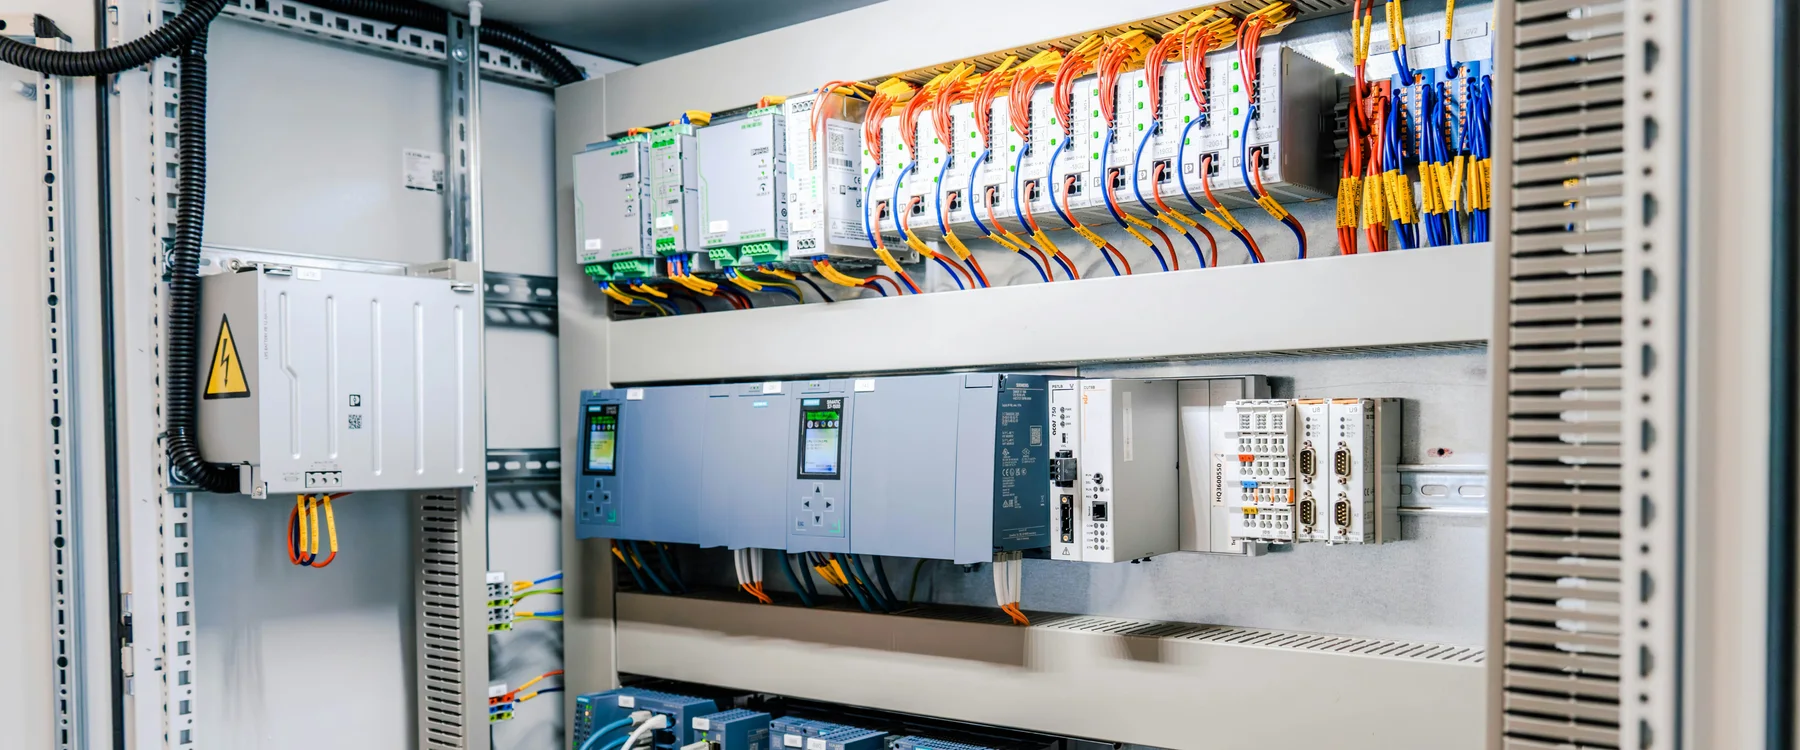
Control-panel wiring starts with the schematic, connection requirements and wire list. Each conductor needs the specified length, end preparation and identifier; ferrules are used where the terminal and project requirements call for them. We size the equipment around your batch quantities, repeated wire families and changes between jobs.
| Step | Equipment | Why it's needed |
|---|---|---|
| 1. Cut & strip | Benchtop cut and strip machine | Set cut and strip lengths from the wire list; confirm the conductor range and required batch output |
| 2. Identification | Wire label printer / applier or number tube | Every conductor carries its drawing reference — printed labels, hot stamp or laser marking |
| 3. Ferrule crimping, where specified | Bootlace ferrule crimping machine | Match wire size, ferrule length and crimp profile to the specified terminal connection |
| 4. Special terminations | Ring and fork terminal crimping | Ring and spade terminals for stud connections and earth bars, 0.3–6 mm² pre-insulated |
| 5. Testing | Continuity tester | Point-to-point verification against the schematic before the cabinet is powered |
Watch the machines on this line running real wire
Close-ups of the heads listed above, 10–30 seconds each, on wire like yours. If one answers your question, send 2–3 metres of your own and we run it on that head, on video, before you order.
More clips on these questions:Ferrules: a strip length you can see, and a crimp that fits the terminal block · Will the flag sit on the cable, or will I still fold it by hand? · Heat-shrink and marking without a gun in one hand
Let the terminal connection decide the end preparation
Some terminal connections accept stranded conductors directly; others specify ferrules or another prepared end. Check the terminal instructions and project requirements for conductor class, cross-section, strip length and permitted end preparation. Where ferrules are specified, we match the ferrule, wire and crimp tooling, then check the finished dimensions and insertion in the intended terminal block. Our WM-3103 covers loose ferrules of 0.35–4 mm² with a listed 2.5-second machine cycle; our WM-3116 spans 0.3–16 mm²; and our WM-397 lists 1,000–1,300 pcs/h for e-tube ferrules. We confirm the configuration and usable batch output with your wire and ferrule mix. Our ferrule selection guide explains the preparation and fit checks.
Compare the complete batch before choosing automation
Short batches with frequent changes in wire size, ferrule, length or identifier can favor separate bench stations. Repeated wire families can justify an integrated automatic line. We compare both routes using accepted wires per elapsed batch hour, starting at changeover and ending after the required inspection. Include first-piece approval, loading, replenishment, stops and rework, then record operator labor hours separately. Identification and testing belong in that same workflow. Send a representative wire list with quantities and repeat frequency; our automatic vs semi-automatic guide shows how to compare the measured time and cost.
Panel wiring equipment — common questions
Which ferrule crimping machine should a panel shop buy?
First confirm the ferrule is suitable for the terminal connection, then match the actual wire range, ferrule series and preparation steps. Our WM-3103 covers loose ferrules of 0.35–4 mm² with a listed 2.5-second machine cycle. Our WM-3116 spans 0.3–16 mm², while our WM-397 lists 1,000–1,300 pcs/h for e-tube ferrules. We confirm tooling and compare changeover and accepted batch output using your wire list.
Can one machine strip the wire and crimp the ferrule?
Yes, some stations combine both steps in one operator cycle. Compare that route with separate stations over the same wire list, including wire preparation, loading, size changes, first-piece approval and inspection. Either layout may need adjustments or tooling changes. We use your batch quantities and repeat frequency to assess which configuration reduces total processing time.
How are wires labeled in a control cabinet?
Three common routes. Printed self-laminating labels wrap around the wire and carry the most data. Number tubes — printed sleeves slid over the conductor before termination — are the traditional panel method and are printed on multi-channel machines at high volume. Laser or hot-stamp marking puts the identifier onto the jacket permanently. Which one depends on whether the identifier must survive handling and solvents, and whether it carries barcodes.
Do we need to test a control cabinet electrically?
Point-to-point continuity against the schematic, at minimum — it catches the wire landed on the wrong terminal, which is the most common and most expensive panel error. The WM-814 tests up to 128 points in one hookup, with conduction from 0.1 to 50 Ω, insulation from 1 MΩ to 1 GΩ, and high-voltage withstand in the same pass.
What should an inquiry include?
Send the wire size range, terminal-block requirements, ferrule series and sizes where specified, and how conductors are identified. Include a representative wire list with lengths, quantities per batch, repeat frequency and current changeover time if available. We use these details to compare bench stations, integrated machines or a mixed workflow.
Get a price in 12 hours
Tell us your wire and volume — a specialist (not a bot) replies with a full quotation.
✓ Request received
Your reference:
Our engineering and sales team will contact you with a quotation proposal within 12 hours from sales@wiromac.com.